
Awhile back, I replaced the leather on the bottom of the drinker seat in my truck. I was pretty knackered after that so I figured I’d do the driver seat some other time. Driver seat time wound up being the Independence day holiday on Friday. I headed to my version of the Reclusium, the garage, opened both doors, turned on the fan, got setup with a podcast, and got busy.
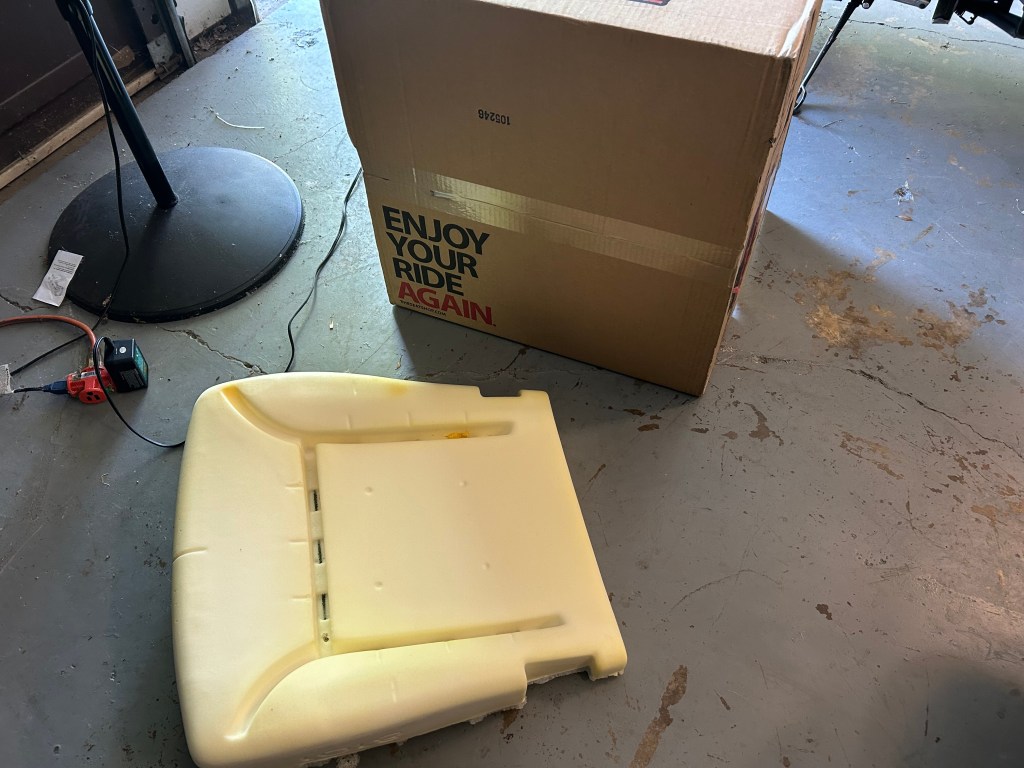
The driver seat sagged a bit on the left side, so instead of wasting my new leather cover on it and having it have a loose area, I splurged and bought a new foam cushion.
You can pretty much rebuild any truck seat, especially the big three American ones. I figured it would take a few hours, so I lit up a podcast in the garage and got busy. Taking the driver seat out was identical to the drinker side, you only have to unplug the power connection for the seat. For whatever reason, this side had three Torx and one nut. No idea what the purpose of that is.
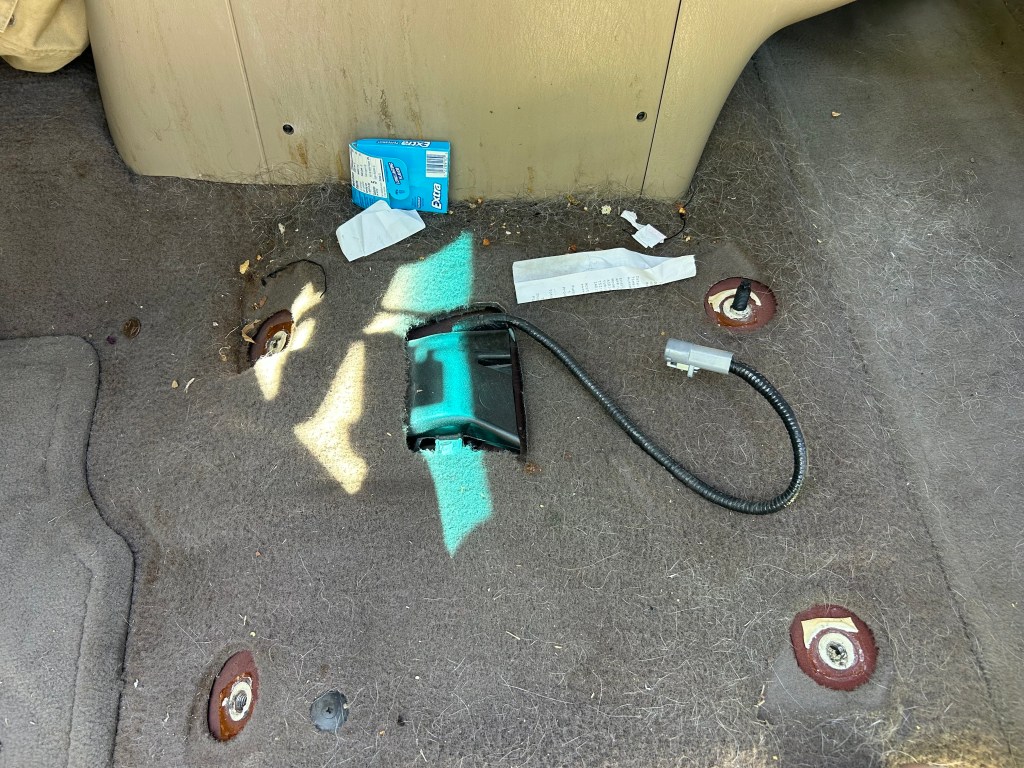
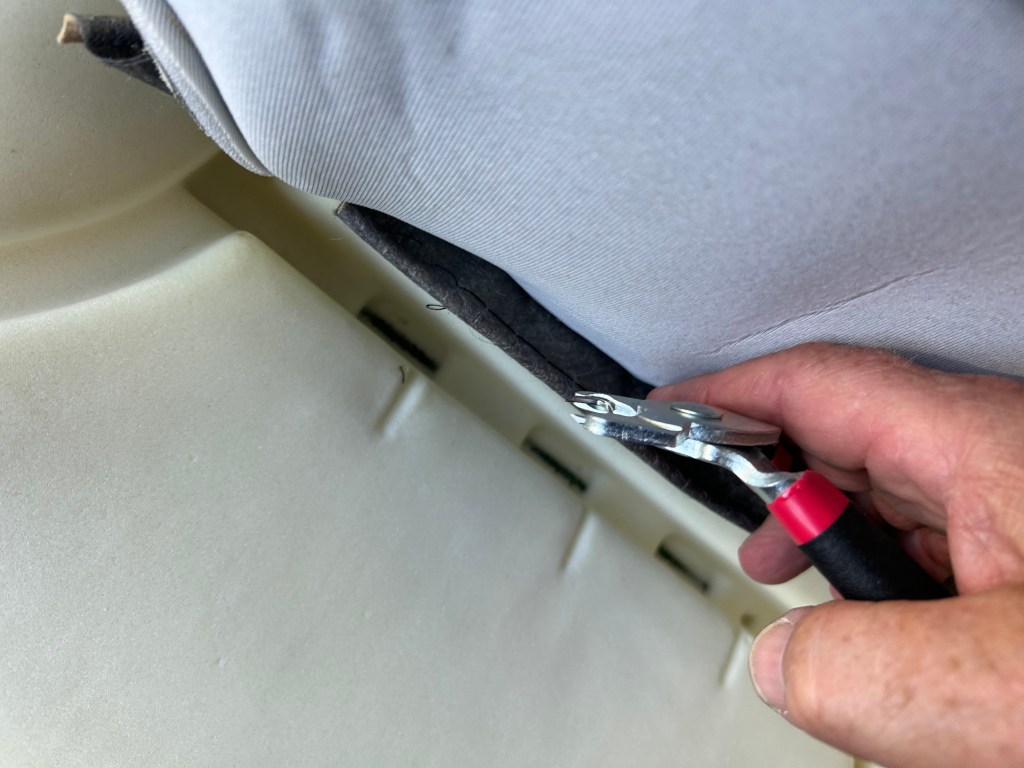
Not as bad as the other side. A little staining, a ton of crumbs and Winston hair. Easy cleanup. First step, since I had new foam and leather, was to assemble the seat cushion. Easy job. The cushion came with hog rings. You press the tab into the foam slot, jam the pliers, and squeeze.
Looks like this when done:
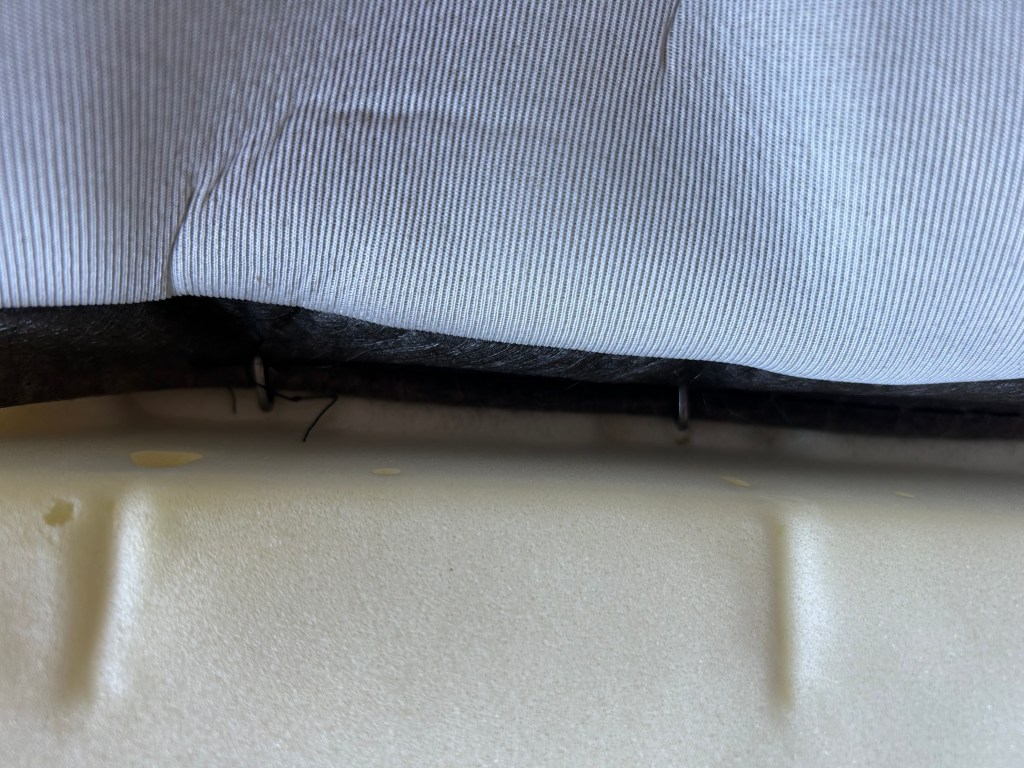
It was a chore to stretch the leather over the foam. Doesn’t look quite right, but it will.
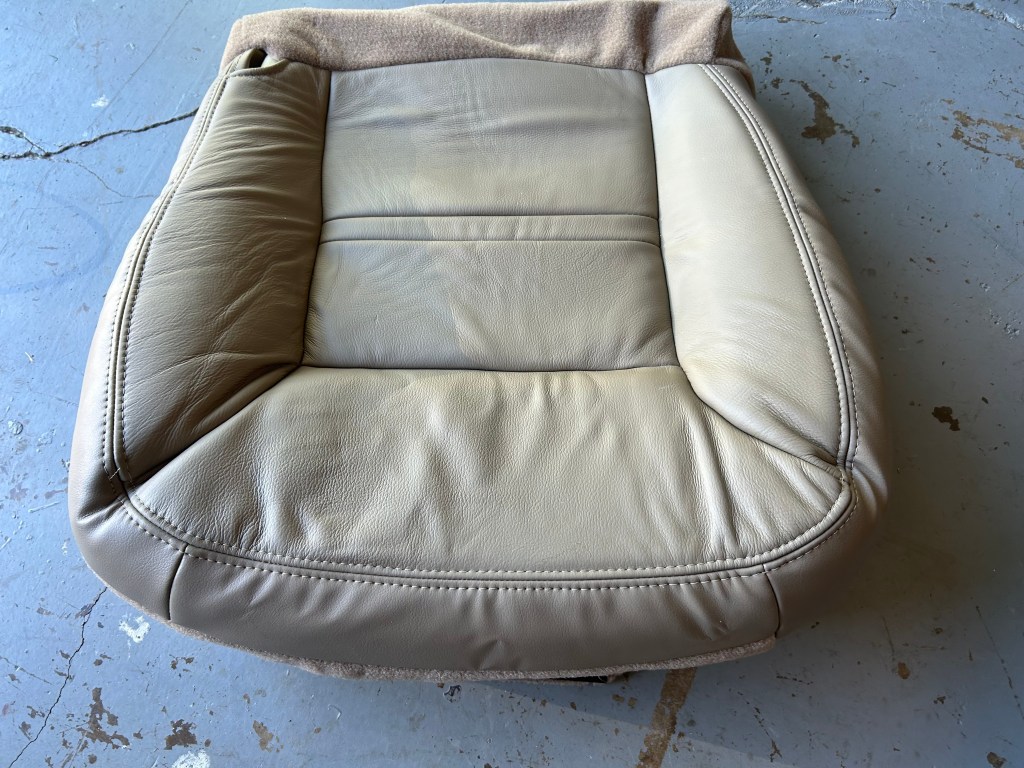
This screwed me up last time. I figured I messed up. Now I know.
Taking the seat apart is straight forward. Power tools help.
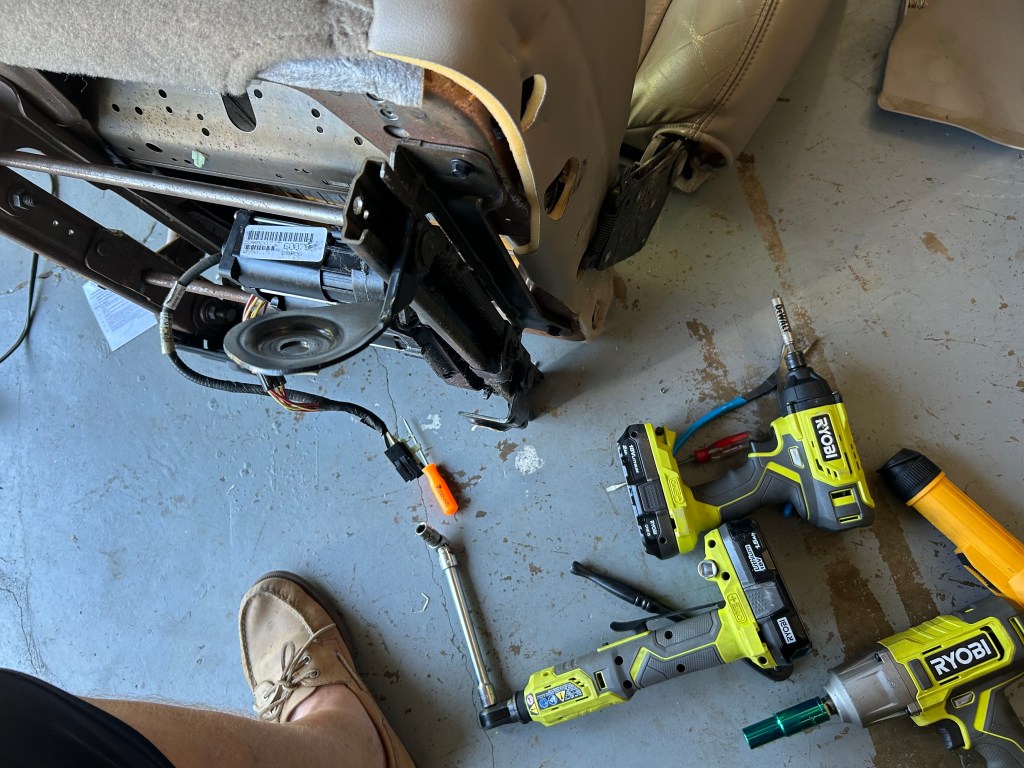
Not hard if you take your time. I’m a tool ho’. I picked Ryobi as my battery system when I replaced my old cordless. I got a set – a drill and impact driver. It was all downhill from there. The 1/2″ impact and electric socket wrench are game changers. I’m such a ho that I have socket wrenches from when I was in high school that are still great, but I replaced them with a new set – 1/4″, 3/8″, and 1/2″ fine toothed and rarely use them because I have power tools now. I have two air impact wrenches, but the battery ones are almost as powerful and a hundred times more convenient.
Once the cushion is off, time to stretch the new one on the frame;
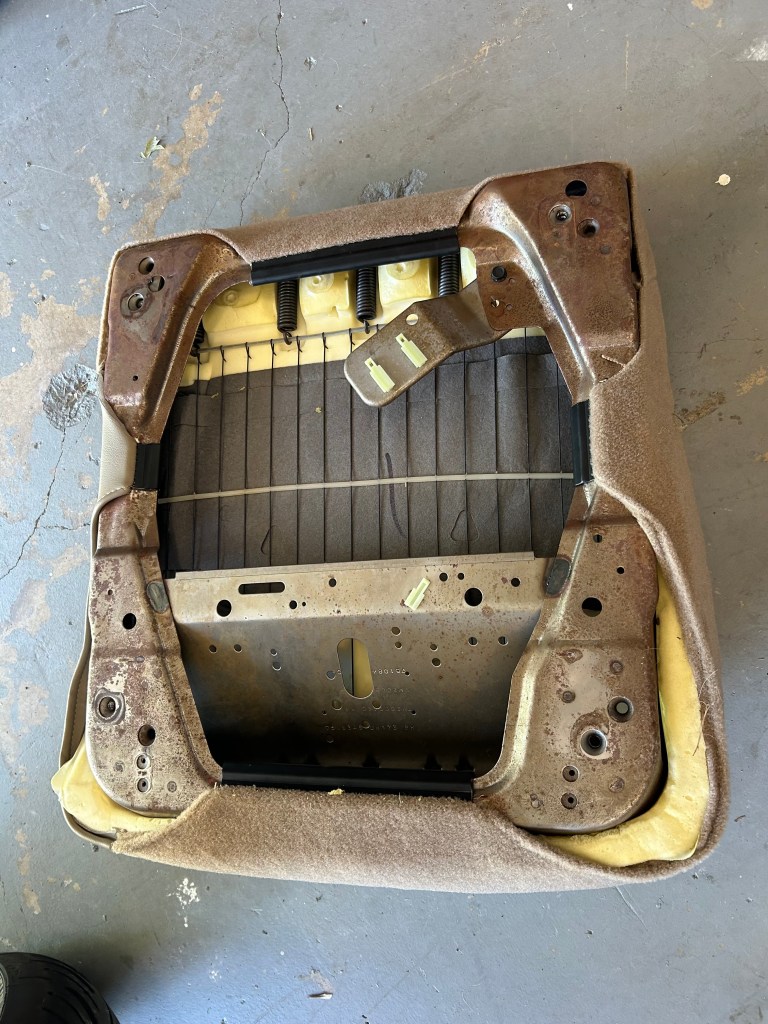
The foam is new and very stiff. Took some work to get the clips on.
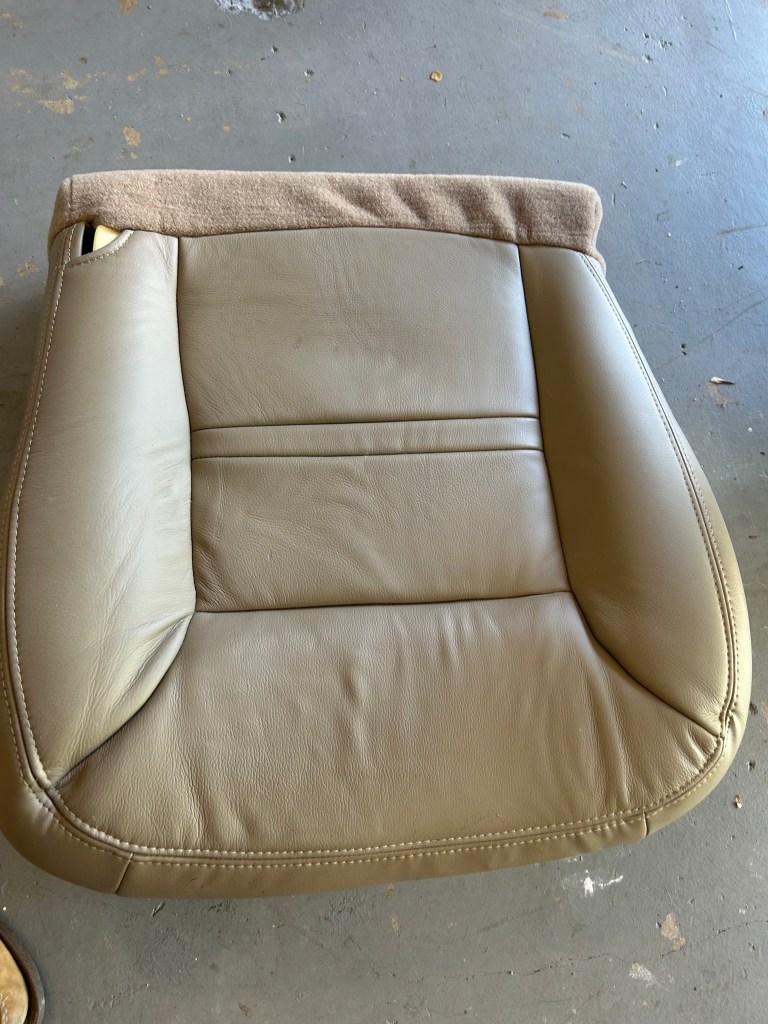
Notice, it’s already smoothing out.
The seat goes back together the same way you took it apart. Only thing is you have to cut the holes for the control panel and hinge on the left side:
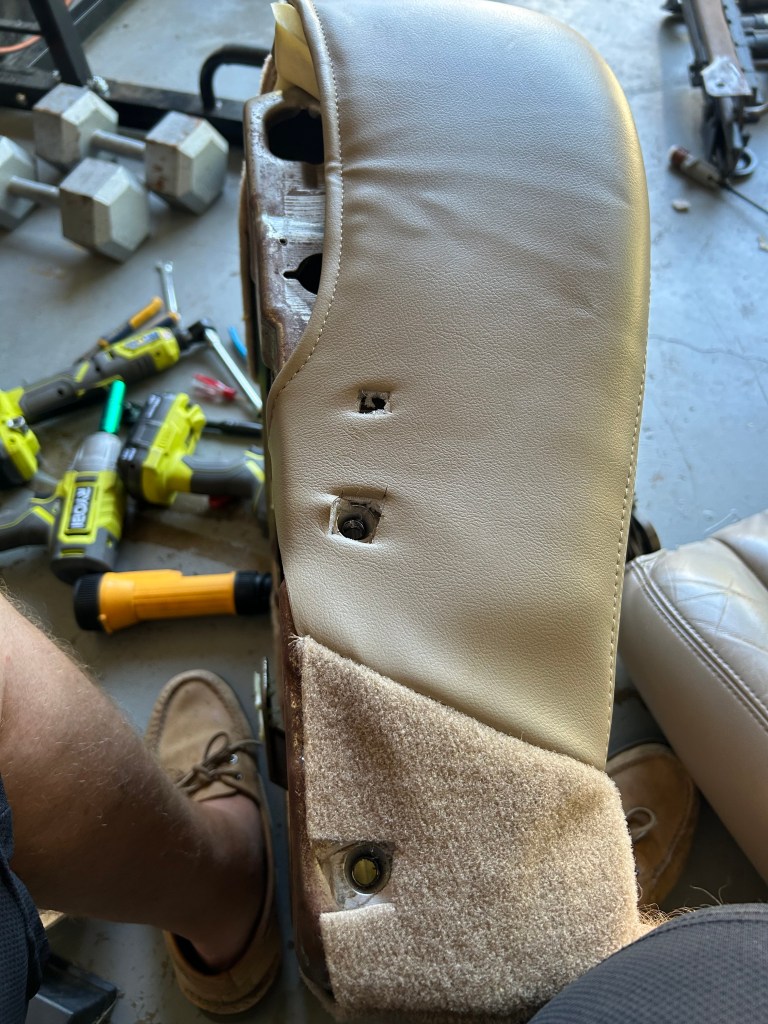
These seats have one hinge assembly, held with two big bolts. The other, inboard, side has a post in the seat frame that the backrest pivots on. Don’t break or lose the plastic bushing.
The seat covers don’t come with holes in them for the hinge and controls. Simply poke an awl through from the inside to mark the holes and cut with a razor and scissors. Don’t use the old one as a template. It’s stretched out and the holes won’t match up. Once back together, you just have to grunt it back into the truck. I didn’t mention it before, but they aren’t light. I figure 50 lbs. and they are awkward to carry.
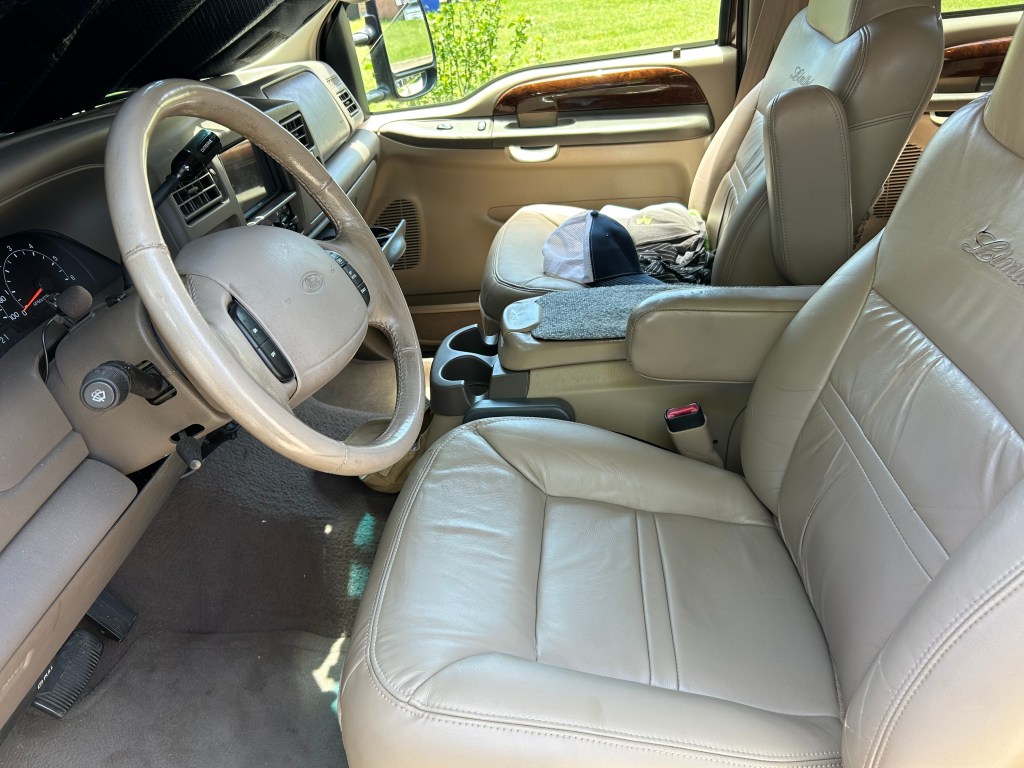
After driving it, there are no more ripples in the leather. It settles in, as you can see by the passenger seat. Speaking of driving, the drive seat feels brand-spanking new. It’s also higher up, not having 26 years of an ass sitting in it. It was a good move getting the new foam. The support is astounding. Feels like a racing seat. Note the tiny tear on the stitching where it says “Limited” I have a feeling I’ll have to do the seatbacks before long. Still, the new leather is a smashing success.
My test ride was up to the range to bust a few caps. Took my two S&W, the Shield .45 and Bodyguard .380 as well as my Browning Buck Mark .22 to save some dough. That damn thing drives tacks. I wish the other two were as accurate. Along the way I got to thinking; this truck looks great, runs beautifully, and is now very nice inside. It doesn’t look, drive, or ride like a 26 year old rig. I wondered why I’d need a beater in my life in addition to this truck. The only issue I have with it is gas mileage, which is mitigated a lot by the bike. I think I can put that project on the back burner and spend the downpayment that I’d use on another car on new airbags and a front end alignment, maybe a bushing and ball joint kit.
It was worth it to do this. I think I’m at less than $500, all in, plus some sweat and elbow grease. Add to that the benefit of having no more schmutz under my seats. If you have a truck that needs some seat work, look at these guys:
Seat Covers from Texan Auto Seat Cover
Cushions from The Seat Shop. They have covers as well.
Both are local (to me) Texas companies. They were great to deal with and the quality is great for the price. No complaints whatsoever.

