I had some time off last week, so I finally got back to the guitar and bass projects.

Sanded down to 800 grit, then sanding sealer applied. Hell, it looks good like that. I’ve already sanded it again and added the second coat of sealer. The sealer is needed to keep the lacquer from sinking into the grain, leaving a non-smooth finish. I have a number of colored dyes for the lacquer, but decided the grain was so cool, I’d go with an amber dye. So it should look light butterscotch when I’m done. I hope. Better. That 4-8 drops of dye cost me $26/oz.
This one is more of a challenge:
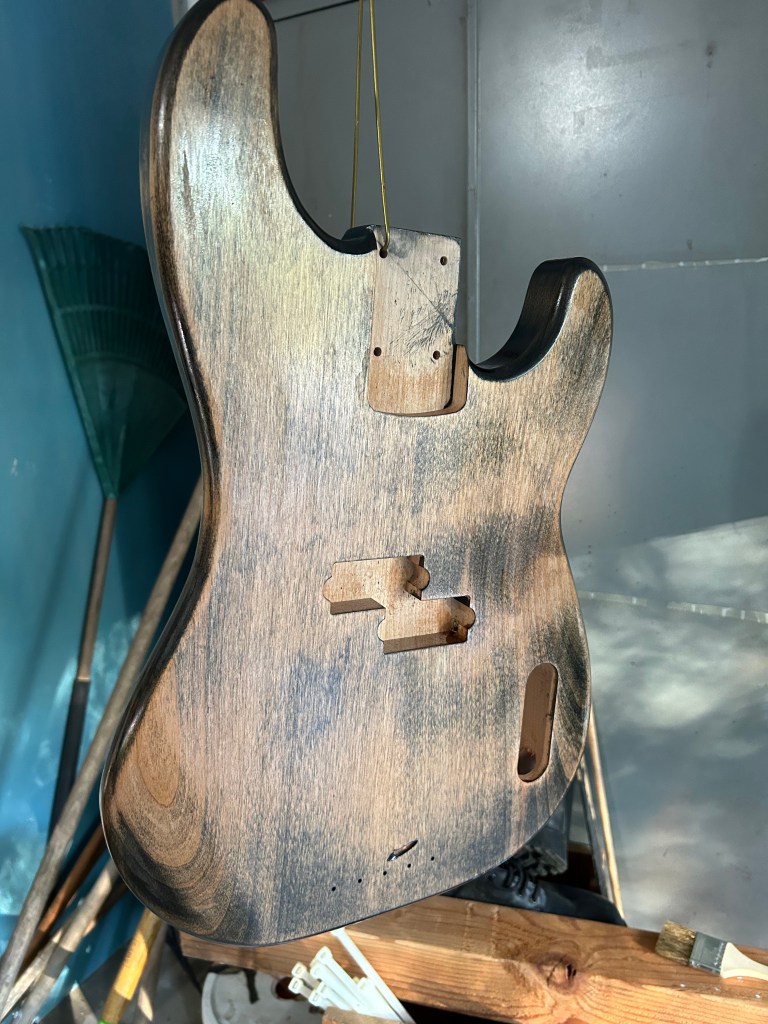
The black stain to enhance the grain didn’t work as I expected, but it added some character that I can work with. The sealer really brought this out. The pick guard on this P-bass will cover up the shadow to the right of the pickup. The rest should look cool with blue or dark green coloring. As I look at it, if the color doesn’t work like I want, I can do black on the back and sides, which will leave a colored highlight around the pick guard. I can also darken the color with some black. That’s the cool thing about lacquer. You generally do about 2-3 coats for color, then clearcoat. So you can adjust during the process.
And…if it sucks I can waddle to O’Reilly and get some car paint and be done with it.
As I stared at this picture, I got a WTF moment looking at those five holes where the bridge is. I thought they were through holes will ferrules to be installed on the back. Nope, those are screw holes for a standard bridge. Whew!
More I look, the more I may skip the pickguard on the bass. Damn things are spendy and it’s only going to get a volume knob, no tone. I could do a generic plate, or make one from a telecaster plate I have. Have to think about that.
Next stop…colortown.
